Heads up!
Limited stock on popular items.
Verify availability before you order!
- No products in the cart.
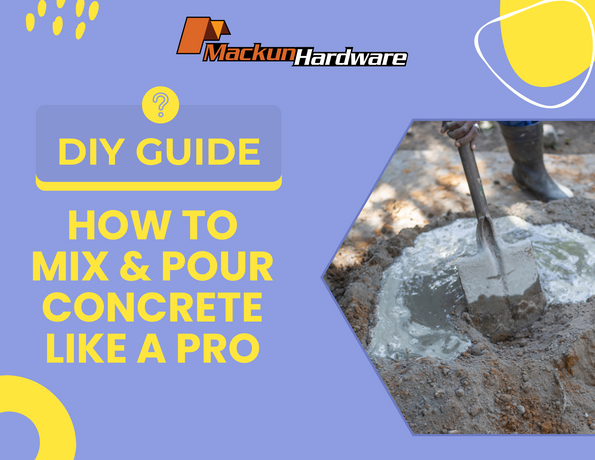

Using the correct concrete mix ratio and pouring it properly can really help your project stay strong and last longer. While often associated with large-scale structures like buildings and bridges, concrete is also widely used in smaller projects. That’s why learning how to mix and pour it is useful not just for construction companies, but also for carpenters and DIY enthusiasts.
Whether you're building a wall, laying a small floor, or setting posts for a gate, this step-by-step guide will help you get professional-quality results.
You’ll need the following:
Cement (usually Portland cement)
Sand
Gravel
Water
Mixing tools (shovel, pail, or a wheelbarrow)
A mold or form for pouring
Trowel or flat wood for finishing

A common mix ratio for general use is 1 part cement, 2 parts sand, 3 parts gravel, and just enough water. Add water slowly (usually 0.4 to 0.6 per 1 part of cement) until the concrete mix is moldable but not watery.
This will work for most small to medium-scale projects.
If you want to learn more specific concrete mix ratios, download this file from Everything About Concrete: concrete mix ratio table pdf.
For even more information, visit their website: https://www.everything-about-concrete.com/concrete-mixing-ratios.html.
In a wheelbarrow or a clean mixing area, combine the cement, sand, and gravel. Mix them dry first until the color is consistent—this helps ensure an even blend before adding water.

Add water little by little while mixing (usually 0.4 to 0.6 per 1 part cement). Aim for a thick but pourable consistency like cake batter or pancake mix. Too much water weakens the concrete, so go slow. The mix should hold its shape when you scoop it.

Pour the concrete into your mold. Use a shovel or trowel to spread it evenly, making sure to push it into corners and edges. Tap the sides of the mold or use a stick to release air bubbles and help it settle.

Use a straight edge or a piece of wood to level the surface. For a smoother finish, go over it with a trowel. For outdoor use, leaving a slightly rough surface helps prevent slipping if you’re making a road or pathway.

Let the concrete set for at least 24–48 hours. For best strength, keep it moist by sprinkling it with water or covering it with a damp sack for 7 days.

That’s it! Now you know how to mix concrete for your next construction project. It’s a valuable skill for professionals in the industry, as well as for home renovations and repairs. Congratulations!
We hope this guide was helpful! If you need more assistance, our team at Mackun Hardware is always ready to help.
Looking for the best cement, sand, gravel, and their prices? Browse our selection of high-quality construction materials here.

For inquiries and orders you may visit or contact us:
Address: RW Building, Sergio Osmeña Street Cagayan de Oro City, Misamis Oriental 9000
Contact No. : +63 956 037 2805