Heads up!
Limited stock on popular items.
Verify availability before you order!
- No products in the cart.
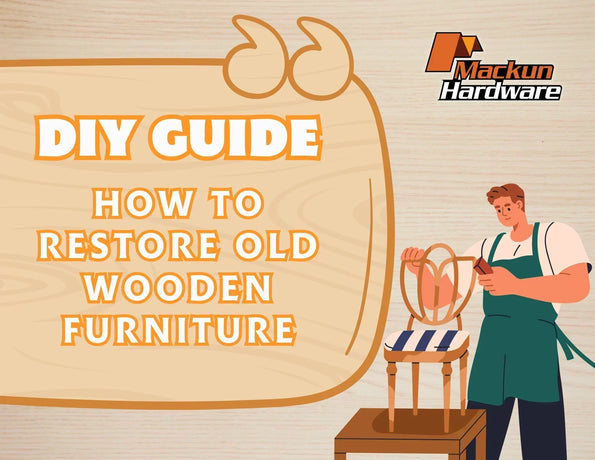

Refurbishing old wooden furniture is a rewarding DIY project that restores its beauty while saving you the cost of having to replace it (which can be expensive). Our guide will walk you through the essential tools and steps to make your wooden table, chair, or cabinet look as good as new.

Before you begin, ensure you have the necessary materials. You can find these at your local hardware store.

Disassemble any detachable parts, such as drawers and handles. Then clean the furniture thoroughly using a waste rag. Finally, repair any cracks or loose joints using wood filler and allow them to dry completely before proceeding.

Sanding is important for achieving a smooth surface for painting or staining. Start with coarse-grit sandpaper (#40-80), then gradually switch to finer grits (#160-220). Always sand along the wood grain to avoid scratches.

Choose between staining to enhance the wood’s natural appearance or painting for a new colorful look. If staining, apply with a brush or rag, then wipe off the excess for an even finish. If painting, start with a primer, then apply at least two coats of paint, allowing each coat to dry completely.

To protect your refurbished furniture, apply a sealant or polyurethane finish. This enhances the furniture’s longevity.

For cabinets, drawers, and dressers, consider replacing the handles for a more refreshed look.
Once the finish has fully cured, your refurbished furniture is ready to use. Bring it to your living room for everyone to see!
We hope this guide was helpful! If you need more assistance, our team at Mackun Hardware is always ready to help.
Check out the DIY hardware tools used for this project here.

For inquiries and orders you may visit or contact us:
Address: RW Building, Sergio Osmeña Street Cagayan de Oro City, Misamis Oriental 9000
Contact No. : +63 956 037 2805